
Step 1
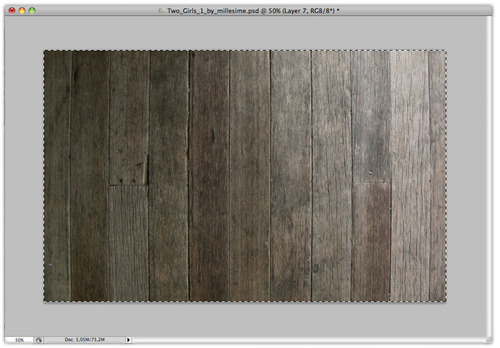
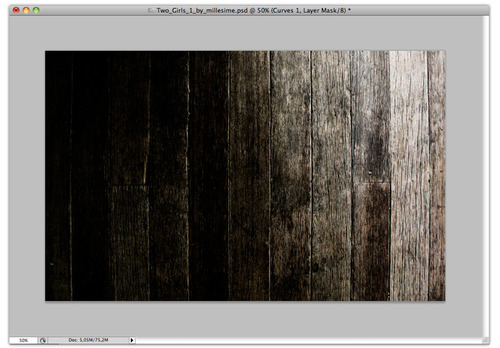
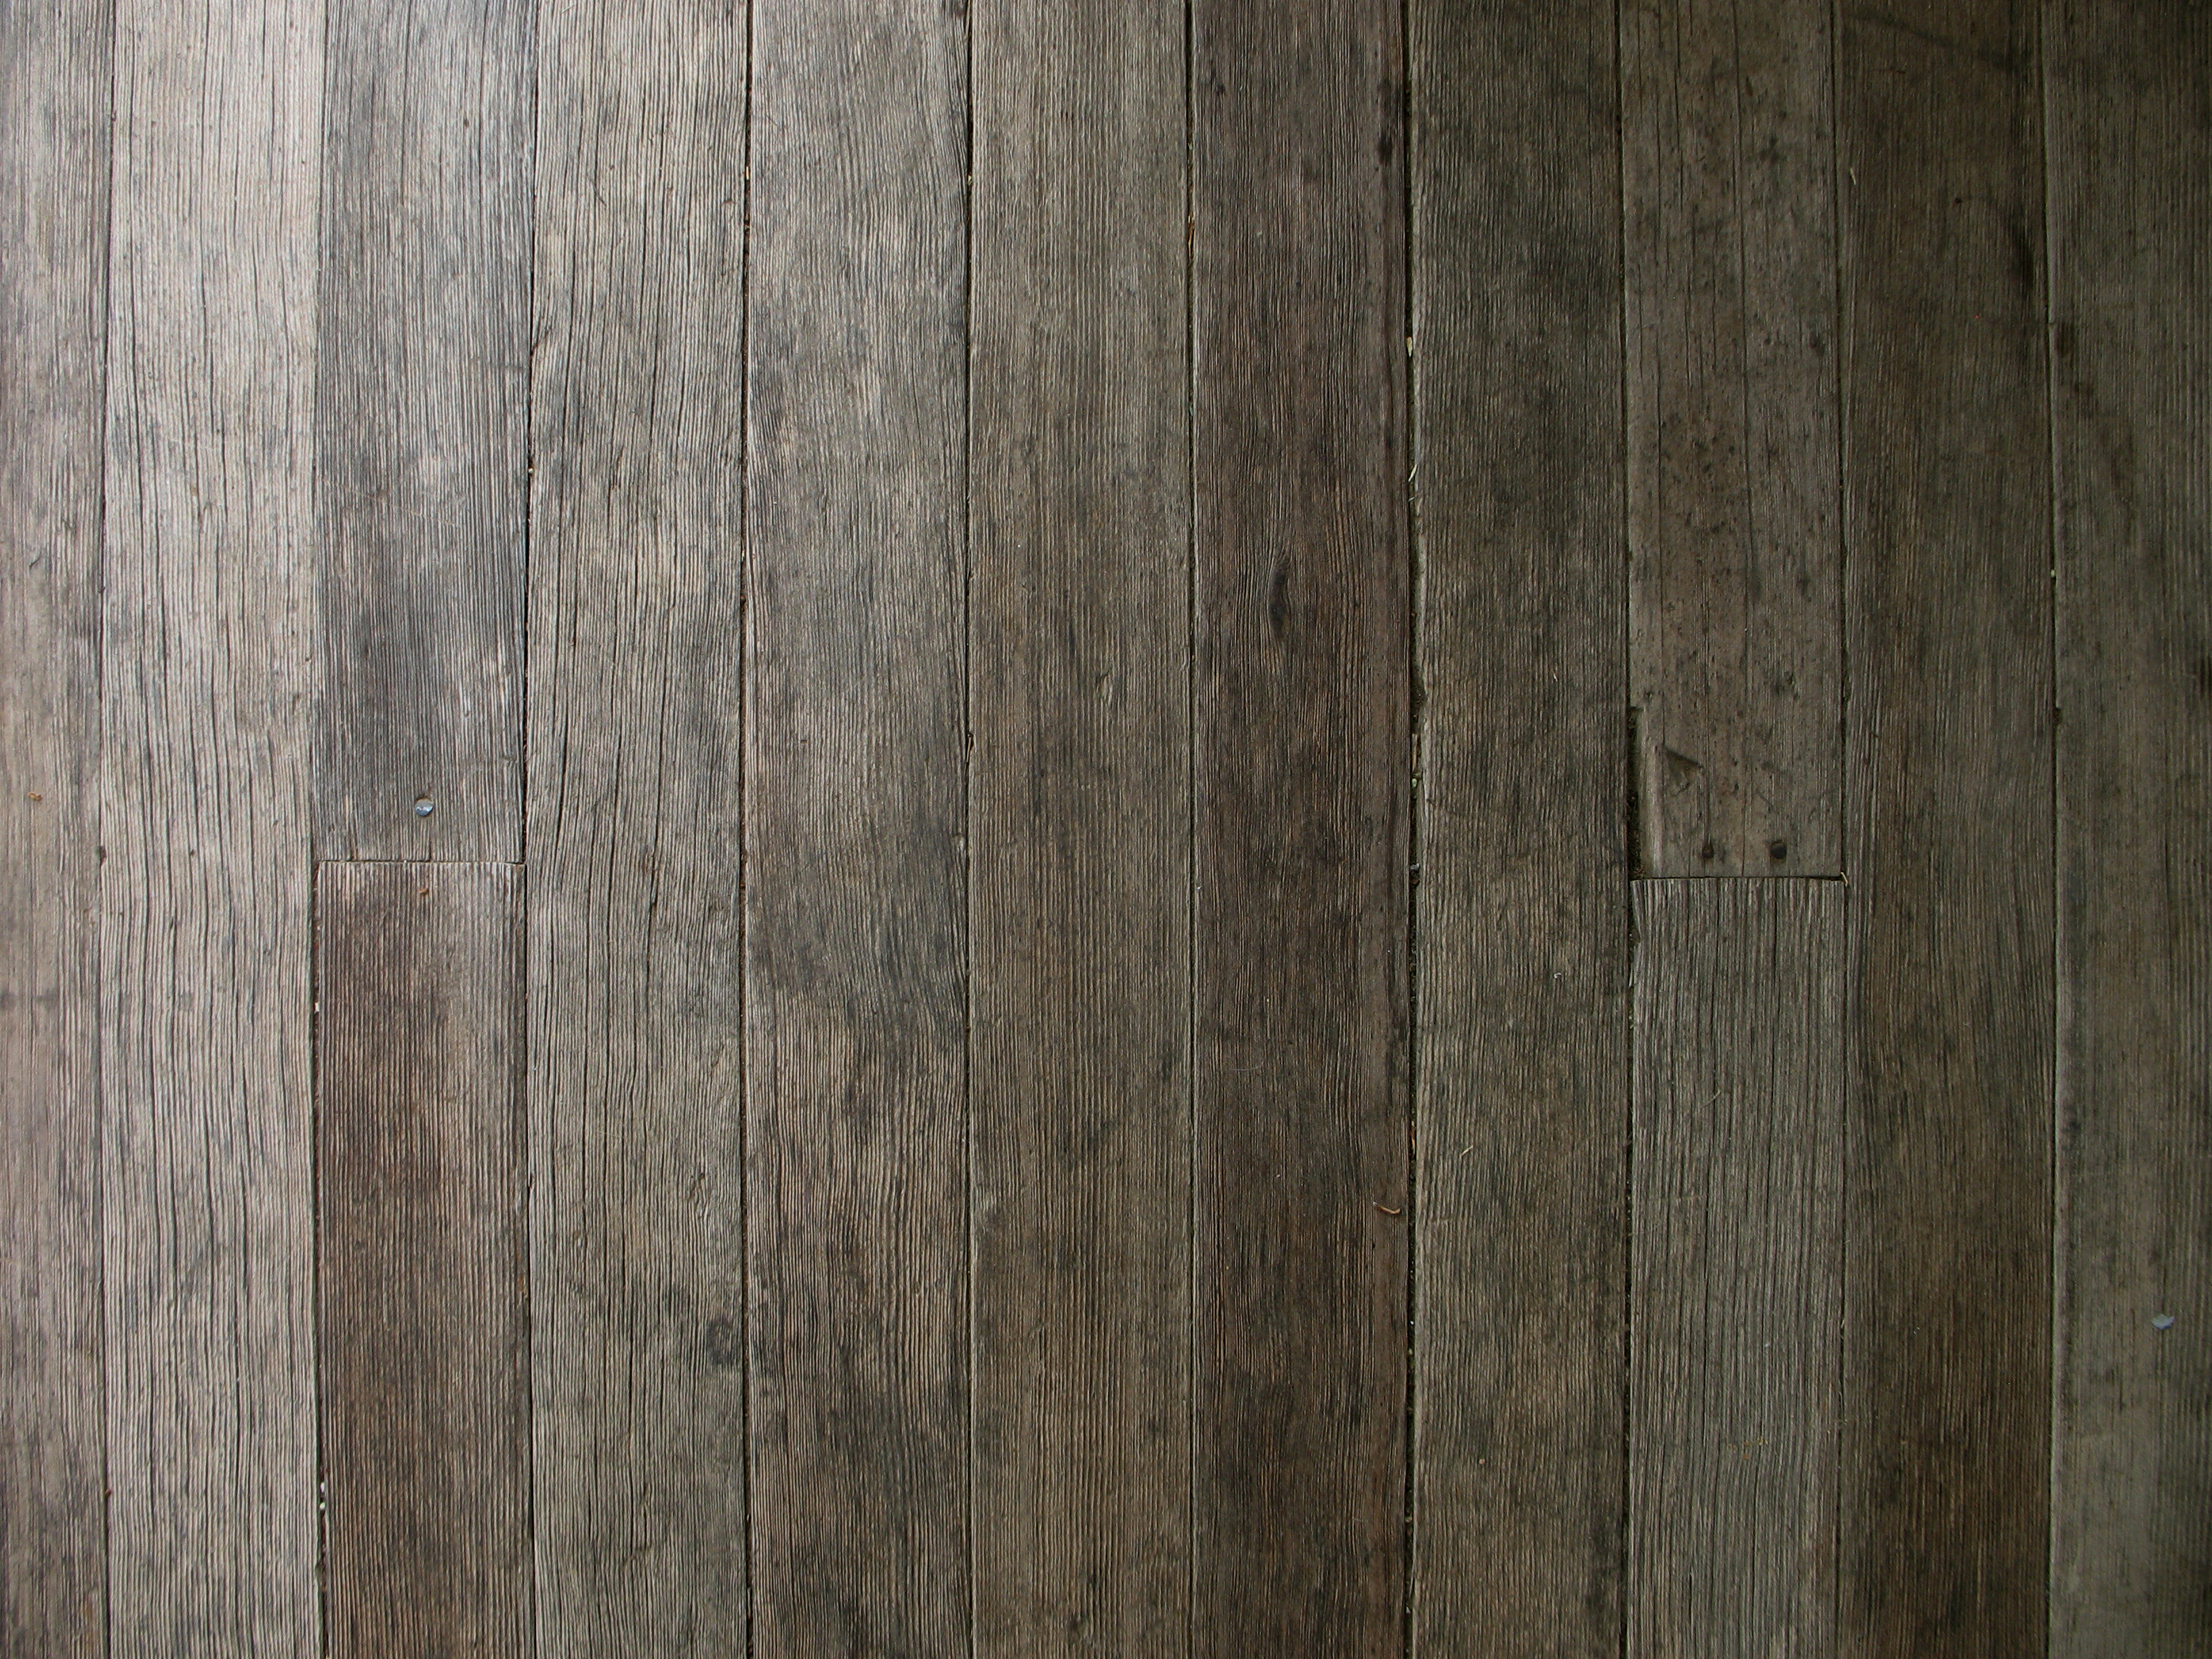
First of all, open photoshop and creat a new document. This new document should have 1680 x 1050 pixels. Now, I used this image of this wood texture, you can download it here. Open the photo and paste it on the 1680 x 1050 canvas.
Step 2
Then you have to duplicate this layer (ctrl + J / command + J) and desaturate it (ctrl + shift + U / command + shift + U). After this, choose the Blending Mode called Soft Light. This will make the image more sharp and dark.


Step 3
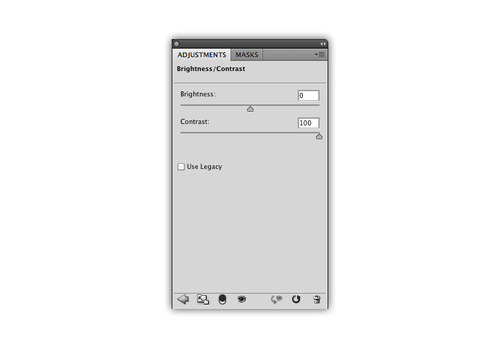
Now acess Adjustments > Brightness / Contrast panel and adjust Brightness to 0 and contrast to 100. This will make the texture more sharp and dark.
Step 4
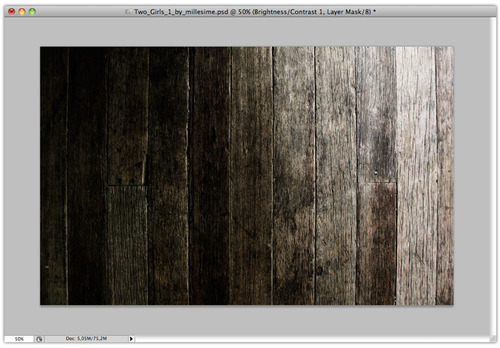
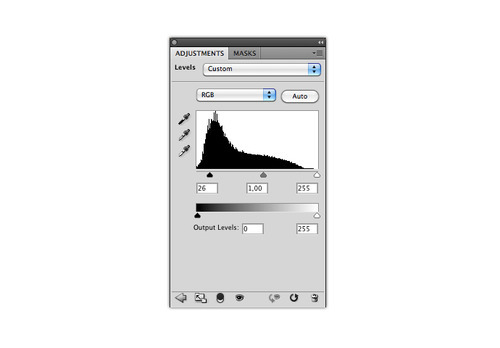
Acess again Adjustments, then Levels panel and adjust the levels to 26 / 1,00 / 255 , just like the picture below. Now this texture is almost dramatic as we wanted.
Step 5
Acess again Adjustments, then Curves panel. Now we have to make three points on this curves graphic, adjust the first one with Output 54 an Input 102, just like the picture below.

Adjust the second one with Output 24 an Input 34, just like the picture below.
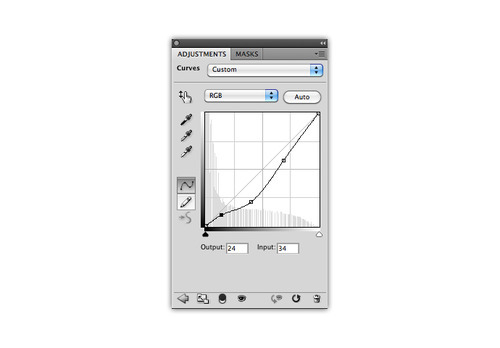
And finally, adjust the third one with Output 148 an Input 176, just like the picture below.

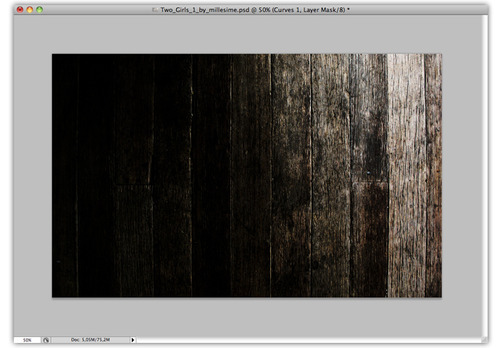
Now we’re done with the Background, the result should be like this:
Step 6
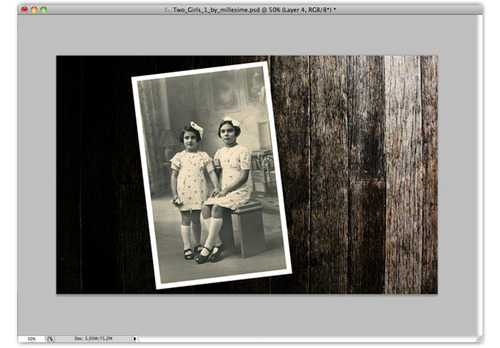
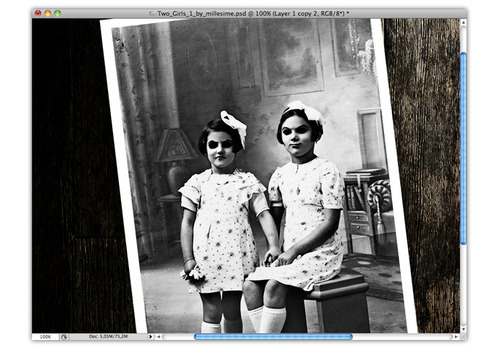
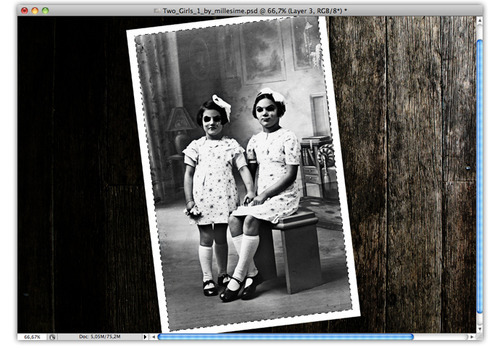
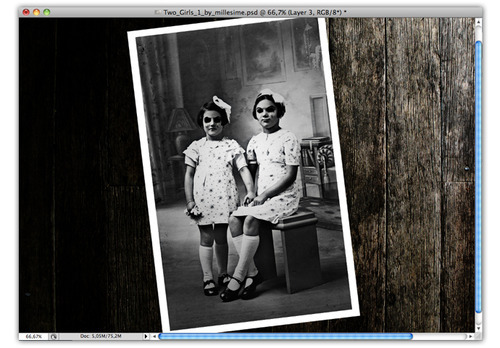
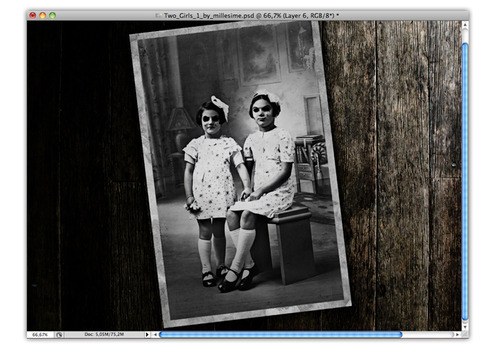
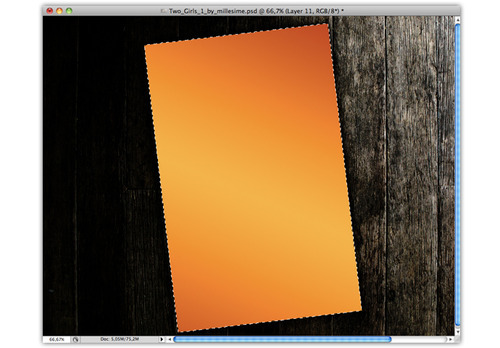
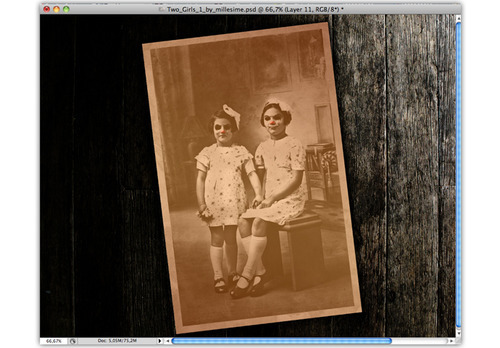
Now download this little girls photo here. Open it in Photoshop, copy and paste it in the canvas. Then using the Free Transform ( ctrl + T / command + T ) , resize it and rotate till you got this:
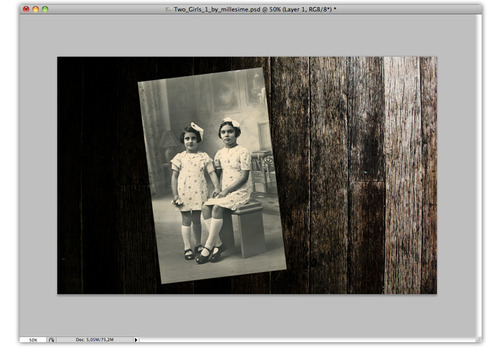
Done that, create a rectangle using the Rectangle Tool ( U ) and place his layer before the photo, the result should be this, creating a white border on the picture:
Step 7
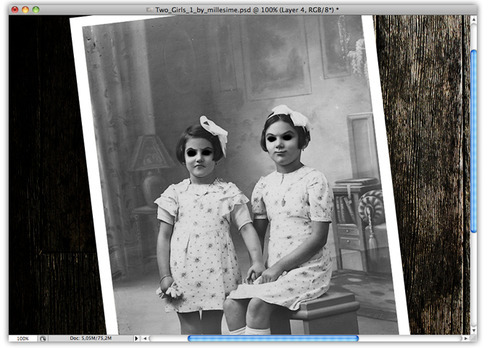
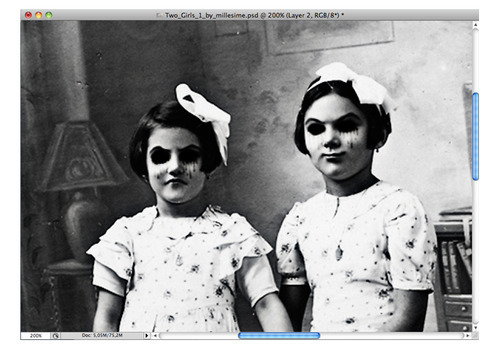
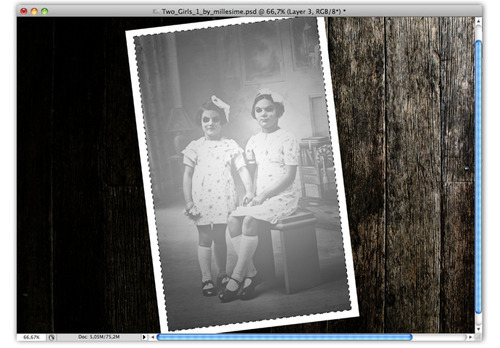
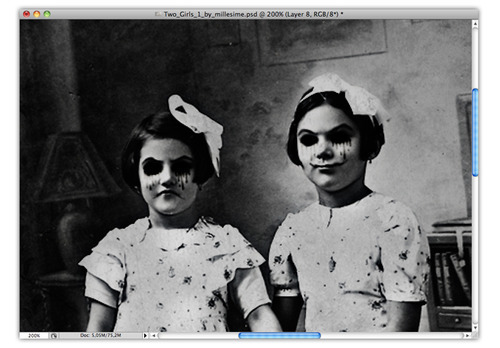
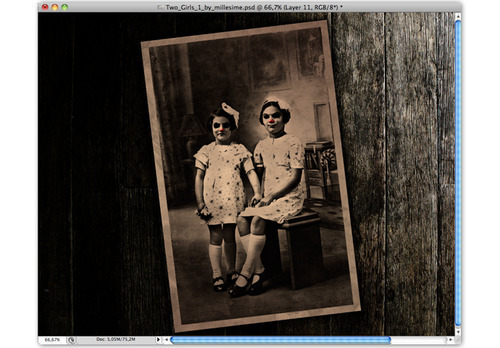
Desaturate the image ( ctrl + shift + U / command + shift + U ), then using the Brush Tool ( B ) cover the girls eyes with black. Now with the Smudge Tool ( the one with a finger pointing ) use a 8 pixels diameter brush to create this expressions on the girls lips, the result should be like these:
Step 8
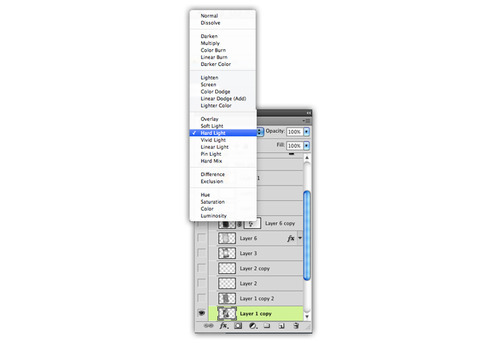
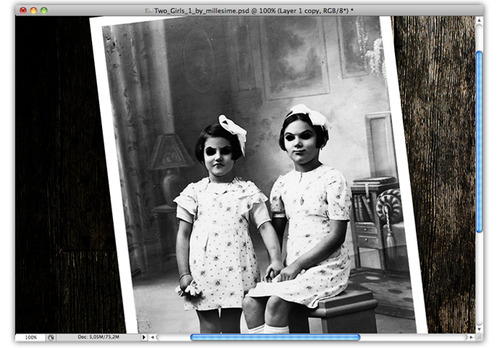
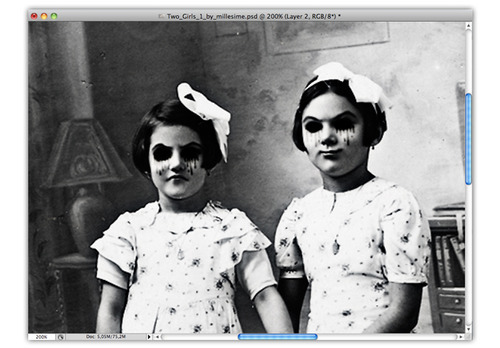
Duplicate the girls layer ( ctrl + J / command + J ) and choose the Blending Mode called Hard Light. The image will get more dark and heavy with this.
Step 9
Duplicate the first girls layer ( ctrl + shift + J / command + ctrl + J ) and put it the top. Acess Filters > Other > High Pass and adjust Radius to 9,9 pixels, just like the picture below.
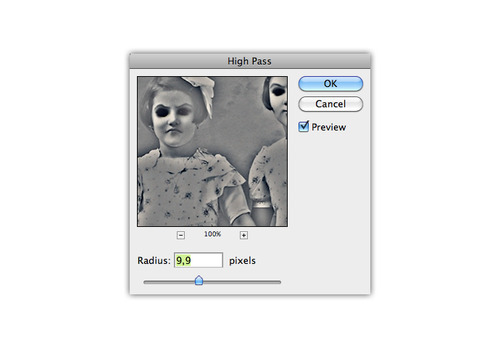
Then, choose the Blending Mode called Soft Light, your image should get sharpier like this:

Step 10
Create a new layer ( ctrl + shift + n / command + shift + n ) and draw these tears on the girls faces with the Brush Tool ( B ), then choose the Blending Mode called Soft Light.

In order to make it more evident, duplicate this layer ( ctrl + J / command + J ) and you should get this:
Step 11
Select the girls photo ( ctrl + click / command + click ) and make a new layer ( ctrl + shift + N / command + shift + N ).
Now creat a radial gradient in this area with the Gradient Tool ( G ), you should get something like these:
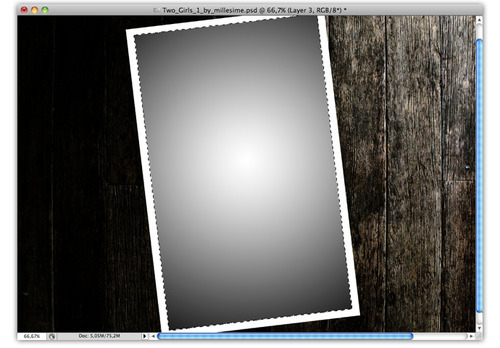
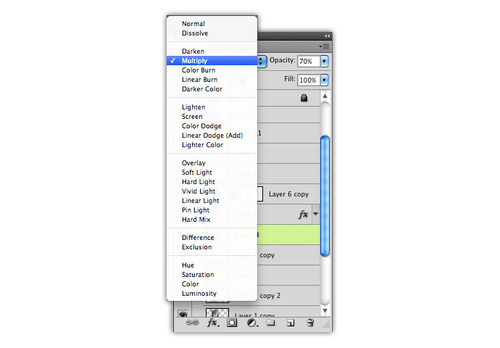
Then, change the Opacity of this layer to 70 % , he’s gonna get like this:
Finally, choose the Blending Mode called Multiply, the light oh the gilrs pic will get more centralized and harmonic, your result should be like the image below:
Step 12
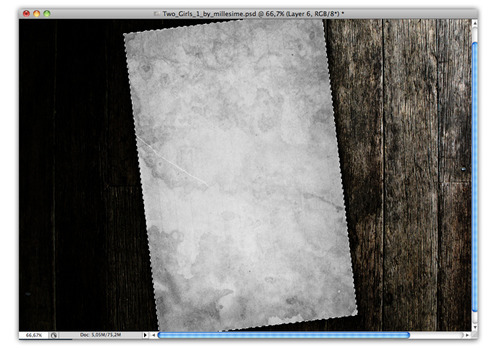
Remember the white rectangle? So, select him ( ctrl + click / command + click ) and create a new layer ( ctrl + shift + N / command + shift + N ). Now get this paper texture here and desaturate it ( ctrl + shift + U / command + shift + U ). Copy and paste it right in the white rectangle selection, like this:
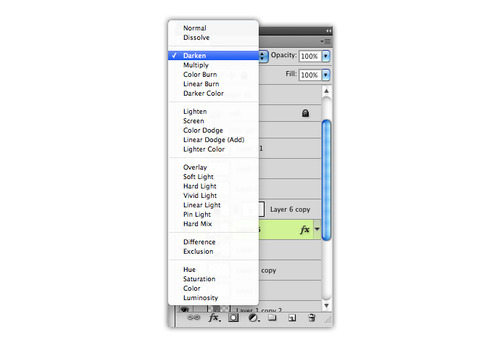
Now choose the Blending Mode called Darken.
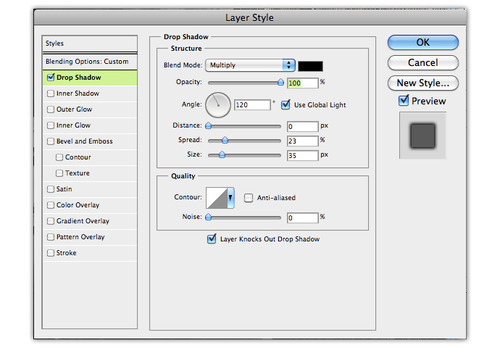
Right click on this image and select Blending Options > Drop Shadow and adjust Opacity to 100% , Distance to 0 pixels , Spread to 23% and Size to 35 pixels. The final result should be this:
Step 13
Duplicate this texture layer ( ctrl + J / command + J ) and use the Invert effect ( ctrl + I / command + I ). Change it Blending Mode to Soft Light, make a Mask and clear with the Brush Tool ( B ) these areas:

Step 14
Create a new layer ( ctrl + shift + n / command + shift + n ) and draw with the Brush Tool ( B ) with black some tiny lines in the mouth of the girls to enhance it gloomy look.
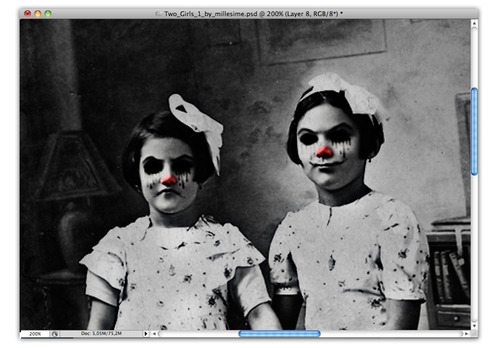
Create a new layer ( ctrl + shift + n / command + shift + n ) and draw with the Brush Tool ( B ) with red the nose of the girls, like a clown ( a bad clown in this case), then choose the Blending Mode called Soft Light, you may get this result:

Step 15
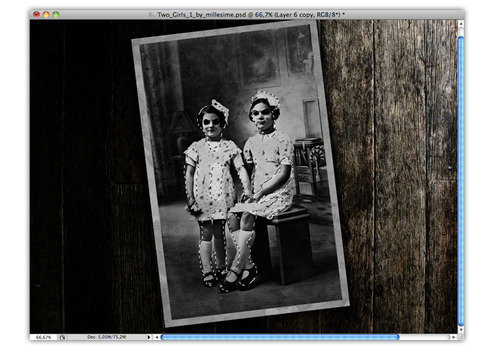
Choose the whole girls image selection by clicking on the white rectangle layer ( ctrl + click / command + click ) than create a new layer ( ctrl + shift + n / command + shift + n ) and make a linear gradient like this with the Gradient Tool ( G ).
Then change it’s Opacity to 45%, it should get like this:
Choose the Blending Mode called Multiply and we’re done with the girls manipulation.

Step 16
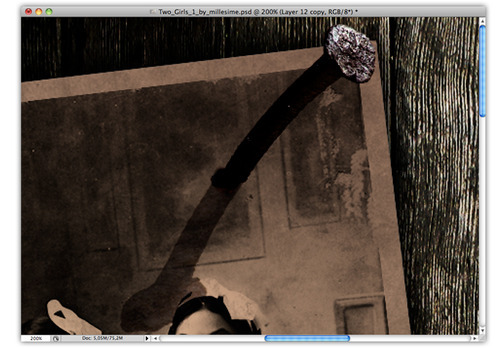
Download the image of the pin here. Cut it and his shadow with the Lasso ( L ) or the Pen Tool ( P ), copy and paste it on the canvas. Using the Free Transform ( ctrl + T / command + T ) rotate and put the pin and his shadow like this:

Separate the Shadow and the pin in two different layers by cutting and duplicating. Now select the shadow layer and change it opacity to 70%, then select the Blending Mode called Multiply, this shall be the result:

Step 17
Now we have to make this pin more gloomy, duplicate the pin layer ( ctrl + shift +J / command + shift + J ) , desaturate it ( ctrl + shift + U / command + shift +U ) and chosse the Blending Mode called Soft Light, it shall get darker.

Duplicate the original layer of the pin ( ctrl + J / command + J ) and go to Filters > Other > High Pass and adjust Radius to 9,9 pixels, just like the picture below.
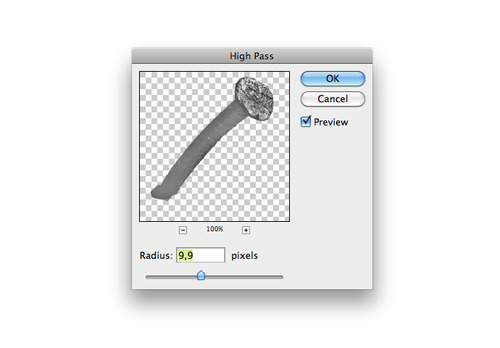
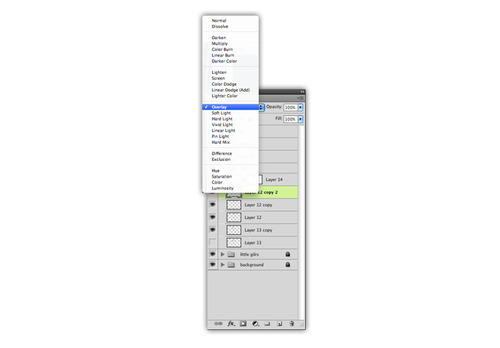
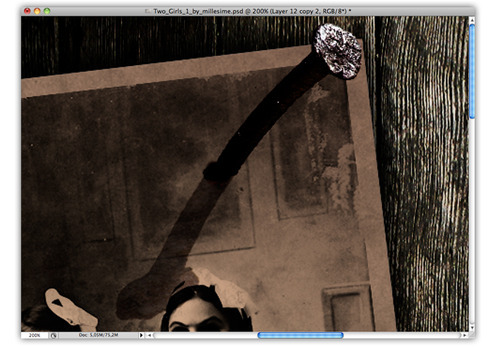
Then select the Blending Mode called Overlay and you should get this result:
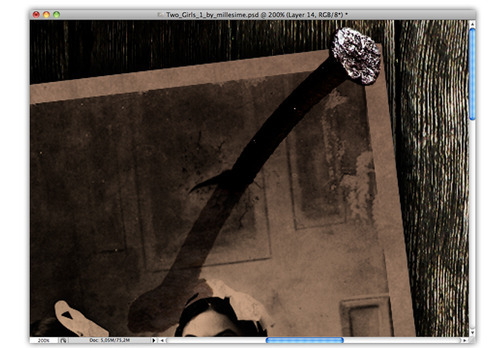
Step 18
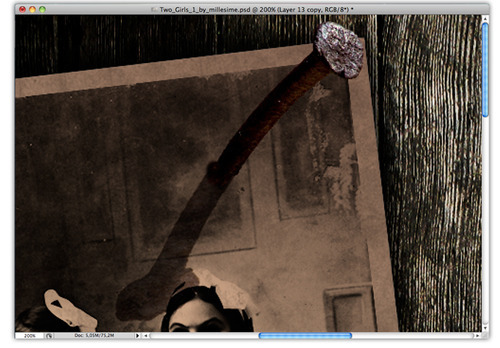
To get a more realistic effect of the pin, i used a Crack Brush, there are lot of this kind of brush to download, you can have some of them here. Try to get this crack on the end of the pin in order to look like the photo was perforated.
Step 19
Now the blood is a splatter brush in red color, you can download some of this here. Try to find one with little drops to look more like blood. After that, choose the Blending Mode called Multiply, you should get this result:

Step 20
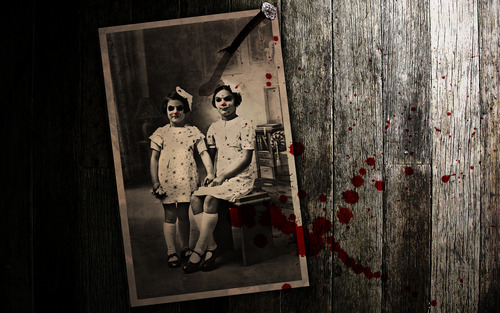
Final step, now we have to make a main light for all the picture, so create a new layer ( ctrl + shift + n / command + shift + n ) and with the Gradient Tool ( G ) create a radial gradient with it’s center close to the right side of the canvas, see the example below:
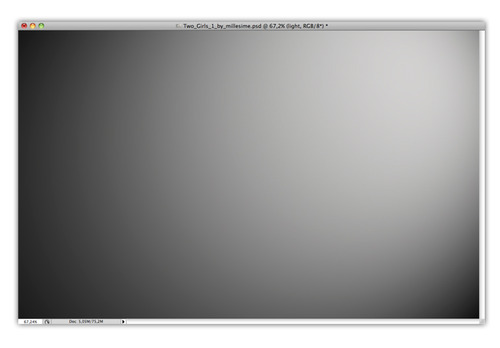
Choose the Blending Mode called Overlay and we’re done.

Conclusion
There are many ways to achieve this final result, but basically, you just have to know how to use textures and blending modes wisely.
Hey buddies! I'm Marcos Torres, a 20 years old art director/freelancer from Brazil, I'm here to bring some new interessant stuff to you. You can see my portfolio at flickr.com/marcostorres. Any request or jobs oportunities send to marcostorres90@gmail.com, also follow me on twitter (@marcos333) to get in touch with cool design news.
